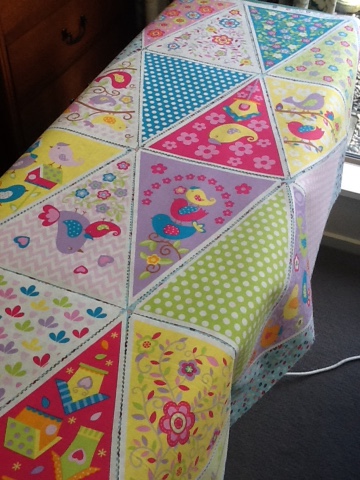
Who doesn't like a pretty bunting? The middle dd had been asking for a bunting for a while, so I thought the panel of bunting flags had been sitting in the cupboard long enough (a year).
So a couple of weeks ago I set to making this pretty bunting. I have put up a tutorial for anyone interested in making one.
First find a bunting panel, they are easy enough to find from spotlight, or your local quilt shop. If you cannot locate one it is easy enough to cut strips of fabric and then cut 60degree triangles of the depth you want your bunting triangles to be.
Iron fusible onto the back of the panel or place the 60degree triangles you have cut on top of fusible.
Cut these triangles apart leaving the fusible paper on the back.
Now find a backing fabric and place the fused triangles on top of backing placing them so as not to waste fabric. Iron this down.
Cut these triangles apart, and choose a bias binding to place along the edge of these triangles.
You could make your own bias in a matching colour or if you find it easier buy the bias, you can get so many colour choices these days.
Place the triangles into the bias binding in the order you like.. I like to tack this down (I know it is a lot more work) but the finish is much nicer and you can ensure that the folded edges of bias are in the right place.
I then cut the end of the tape on an angle but leave it as a raw edge.
Then wella a happy daughter with a lovely colourful room.


1 comment:
Lovely quick pick me up for a room!
Post a Comment