There seems to be hexagons everywhere these days so I thought I would put together a quick run down on some options for paper hexagons. They are quite addictive so please be aware they may take over your life....
These washable papers can be left in and do not need to be removed once project is complete.


 Another way to prepare your hexagons is to sew the corners of the fabric but not go through the papers, this way you can sew them together and not worry about removing the tacking stitch when complete, as you do not see the tacking stitches this way. Take a small stitch in the corner of the fold of fabric, holding between your thumb and forefinger, then turn around to next corner having the thread reach across on top of the fabric to the corner take another small stitch through the fabric only. Keep going around until you get to the corner you started at, take another couple of small stitches through the starting point and then snip off.


Happy Stitching Until next time
Sharon
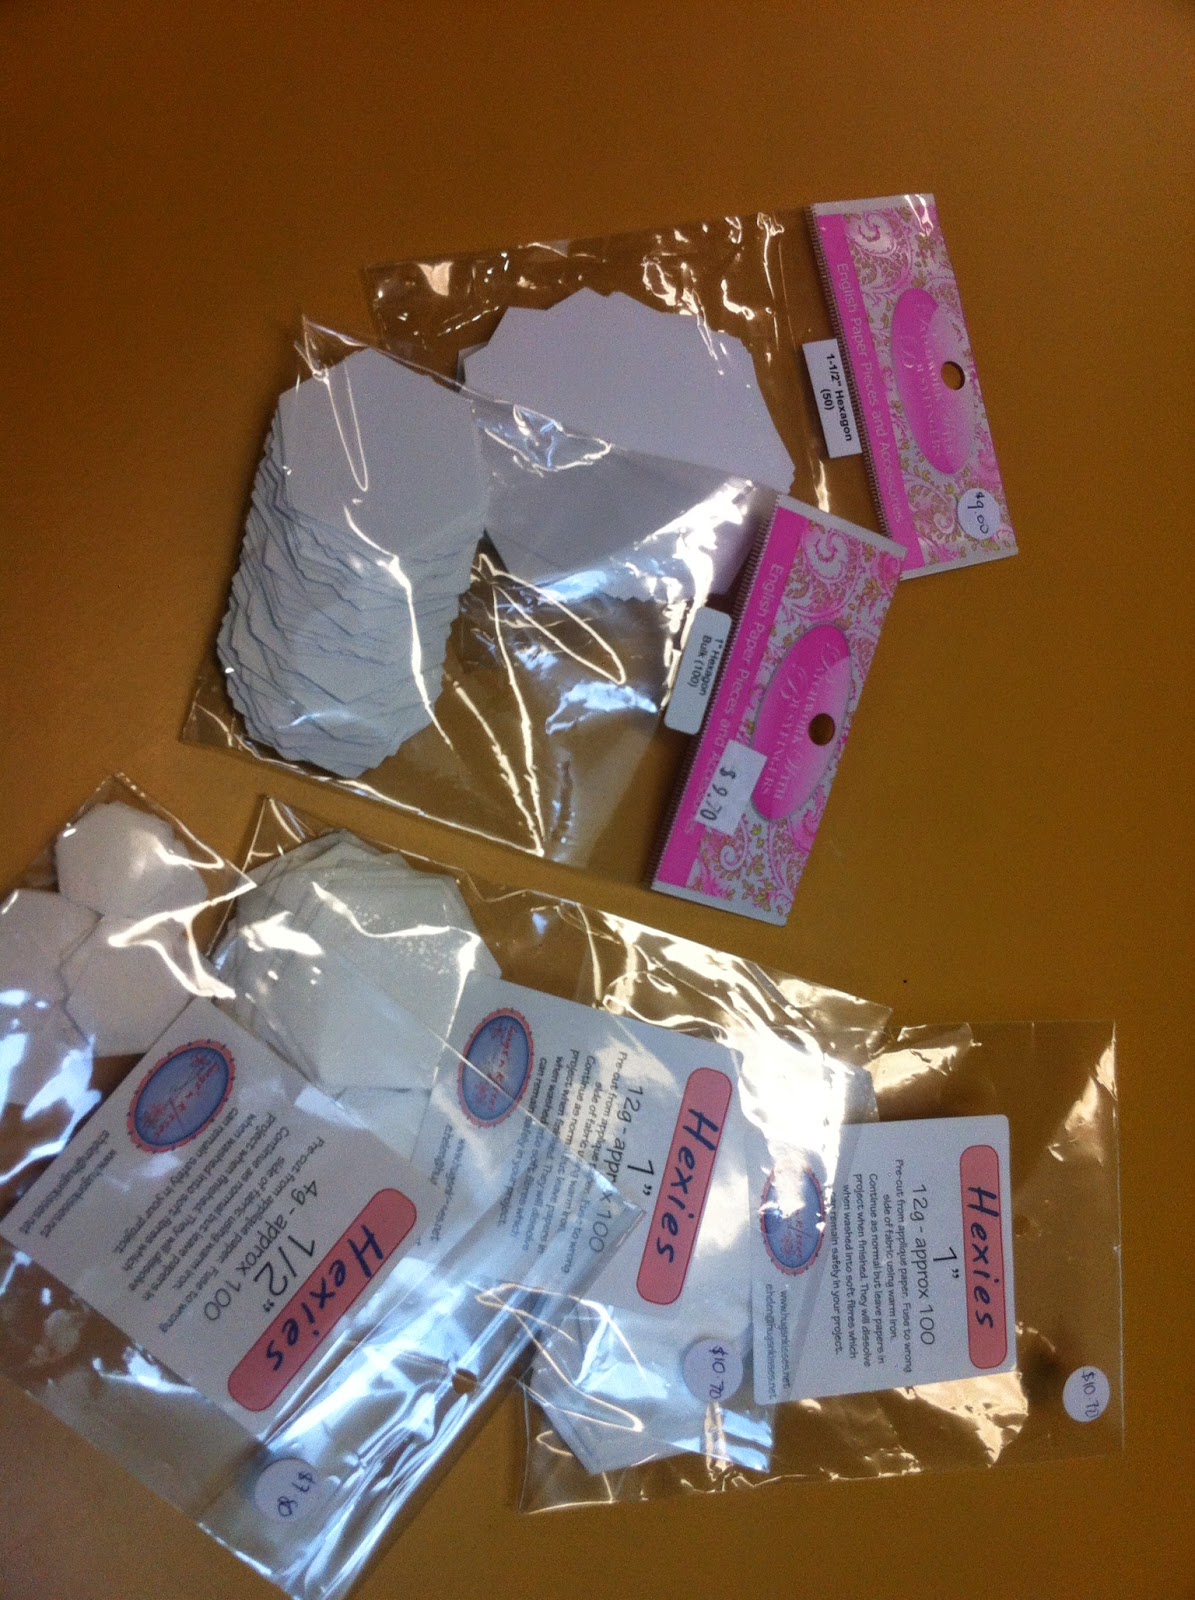 |
| Paper Piecing papers available at www.busyfingerspatchwork.com |
 |
| fusible washout hexagon papers available at www.hugsnkisses.net |
These are new punches from Fiskars. You can get different size punches. This can save money over the long term. I just save all the insert cards from magazines for subscriptions and use these.
Mark your hexagon shapes onto the fabric and cut out. Remember if you don't have a fabric template you need to remember
to cut 1/4" more than the size of your hexagon papers.
Option One for Preparation - Use a sewline Glue pen. Glue the edges of the papers be sure to not put too much glue on as this will make it difficult to remove if you have loaded the glue on. Just put on the edge of the papers.
Fold the fabric over the papers and then slightly glue the fabric corners so they will stick when folded over.
Threads... I use these superior threads Egyptian cotton donuts, they have all the colours and are prewound. Handy and easy to carry around.
Another way to prepare your hexagons is to sew the corners of the fabric but not go through the papers, this way you can sew them together and not worry about removing the tacking stitch when complete, as you do not see the tacking stitches this way. Take a small stitch in the corner of the fold of fabric, holding between your thumb and forefinger, then turn around to next corner having the thread reach across on top of the fabric to the corner take another small stitch through the fabric only. Keep going around until you get to the corner you started at, take another couple of small stitches through the starting point and then snip off.
The third and final way is to tack the fabric on to the papers by going through all the layers. (this way means you need to remove the tacking when you have completed sewing your shapes together.)
Put your needle through the paper and fabric at the corner fold making sure that the knot is on the right side of fabric for easy removal. Keep going around and tacking at the corners but making sure you take a small stitch all the way through the papers and back to wrong side again. Finish going around and secure thread with a couple of stitches before sniping off.
Joining the prepared hexagons together, I always start slightly in from the corner (this is to ensure all the knots do not meet together in a corner. Then I go back to the corner with small stitches then forward to the other end. Making sure the stitches are small and not largely spaced you will find that they are hidden on the right side.
Joining corners together, this means sometimes you will have to slightly fold the papers to fit together to stitch, remember to take small stitches. Once complete then open out. Remove all papers after sewing together or if you have used the fusible papers leave in as they will slightly disappear in the wash.
You can make all number of shapes by slotting together the shapes into various designs.
Sharon
1 comment:
Thanks so much for the little tutorial! Perfect timing. I just went through my scrap basket and cut out lots of hexies with my Accuquilt, and I needed a little guidance to start stitching. Have a super day!
Post a Comment